One of the principal tools is Adobe Photoshop, allowing extensive manipulation of images.
Changing the brightness and contrast of an image is one of the basic operations that are routinely done. I usually try "Auto Levels" or "Auto Contrast", using the undo feature to go back if I'm not satisfied.
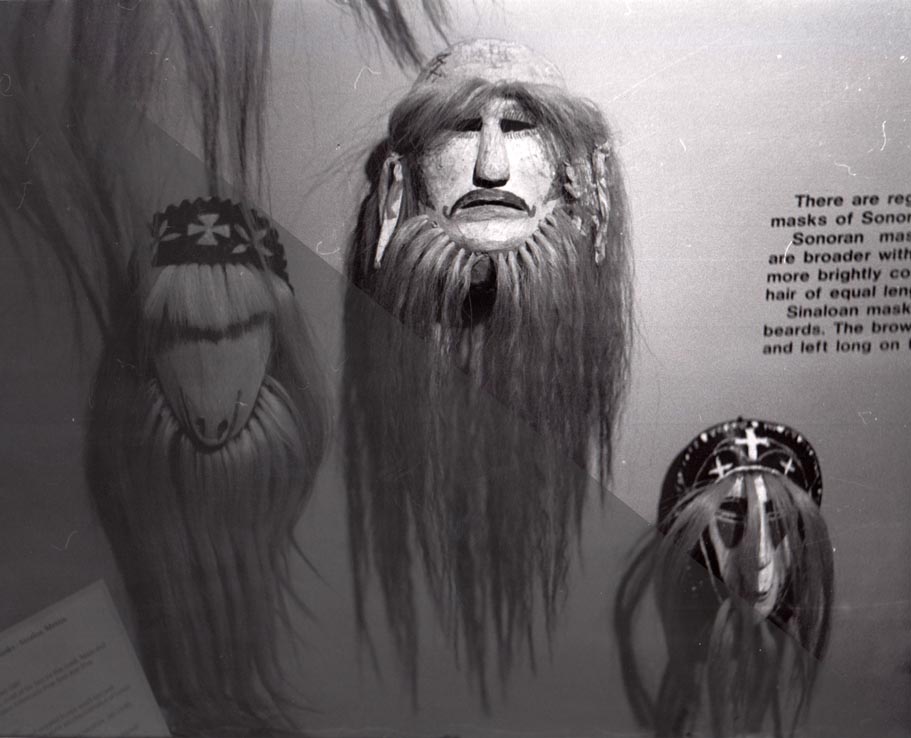
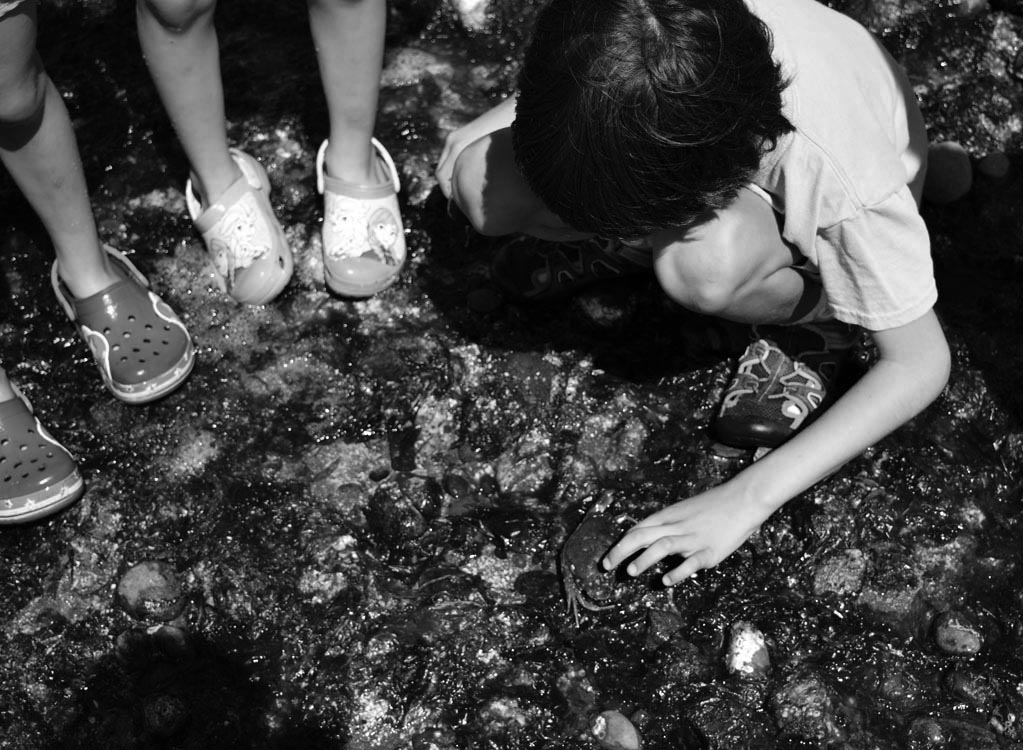
For a scan of a black and white photo as this is, the "Dust and Scratches" filter can sometimes help. The balance there is to maintian some resolution without keeping the defects. Sometimes you have to leave some defects visible at this stage.

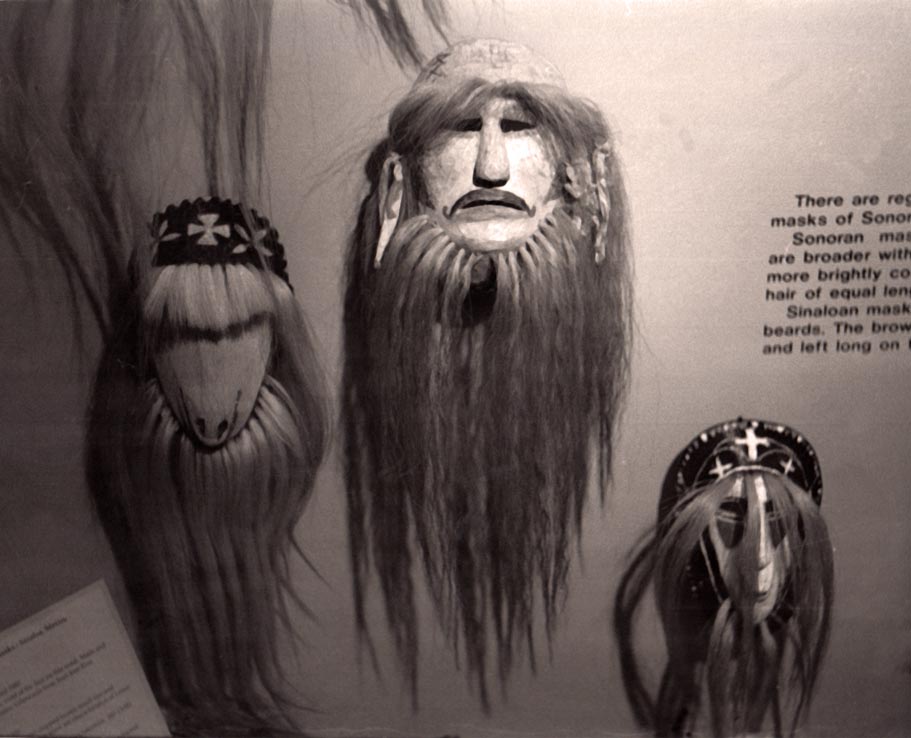
To finish this work, I have used the "Clone" tool to remove some of the remaining dust and scratches, then applied a sepia filter for the final result.
Another basic set of operations is cropping an image and resizing it. My preference is to use the full resolution image, which I may save as "large", then crop and resize to fit my needs. A note on resizing - I always strive to reduce pixel count by "integer resizing", in other words, have each final pixel be the average of 2x2 pixels (50%), 3x3 (33.33%), 4x4 (25%), 5x5 (20%), 6x6 (16.67%), 7x7 (14.29%), 8x8 (12.5%) or other integer divisors.
For example, if you had a 6000x4000 (24 MPix) array, but a maximum dimension for posting of 1024 pixels on a side. I often reduce these images by 25%, resulting in 1500x1000, but this is too large for the forum described. In this case, I may consider cropping it so it was square 4000x4000 and then reduce it to 1000x1000. If cropping that much isn't a good fit for your composition, a 16.67% image size reduction gives 1000x667 pixels. Another option is to reduce by 20% and crop the long axis from 1200 down to something 1024 or less, resulting in something in the neighborhood of 1024x800.
The reason I prefer to take the time to work out an optimum approach is so it doesn't even have to correct for any aliasing artifacts, since, for example, if I simply resized 6000x4000 to 1024x682.67, which is 5.859375 pixel ratio (17.067%). Rounding, (as we must), to 1024x683 leads to 5.856515... (17.075%) in the "y" direction only, still being 17.067% in the "x" direction. This is a relatively minor distortion, but it is there. Of more concern is how it handles the averaging over a 5.859x5.856 pixel patch, rather than a 6x6 patch, and what happens with the "leftovers". The leftovers are the source of aliasing in an image. Most software tries to reduce the impact of aliasing when resizing, but I prefer to avoid the issue entirely if possible.
The following image started as 4496x3000 (12.9 MPix), presented here at 25% (by clicking for the larger version) - what is on the page is only 256 pixels wide, so 25% of 25%, cropped to 1023x750.

And a 100% crop at 1023x849.

One of the simplest operations is to change your color photo into greyscale, which also makes for smaller files.
If you, instead of greyscale, simply "desaturate" the image, you can still apply color filters, such as the "photo filter" set. Here we see the digital version of sepia toning, with two "strengths" plus greyscale.

Next is the same idea, but without the desaturation first, with a "deep red photo filter" at various densities. It can range from subtle to vivid, depending on your intention.

Here is an example of the "hue/saturation" controls, allowing me to change how individual colors are saturated and change the hue of a specific channel, here green (inside a threshold of colors) was changed to purple.

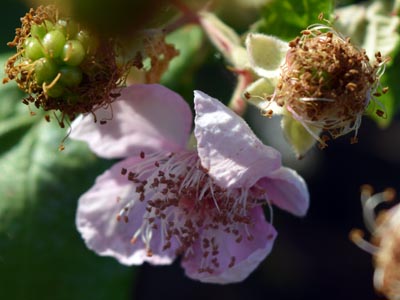
"Smart sharpening" can be an effective way to bring out some more detail. Below is a blackberry blossom, both the original photo and after sharpening. You have some control over how it does the sharpening, so this is just one example. The third photo uses the "unsharp mask" instead. Sometimes, you can simply use "sharpen/sharpen more" and get good results, but I generally use techniques that have more control.


Many times we would like to bring up the sharpness of a photo, but there are times that blurring is useful, either by a fairly small amount for high-frequency noise reduction, including hot-spot elimination, or by a larger amount for effect. The photos below of the extreme-macro photo of an M2 x 4 mm bolt show the difference between the original photo and with a Gaussian blur filter applied (with a diagonal split between them subtly visible).
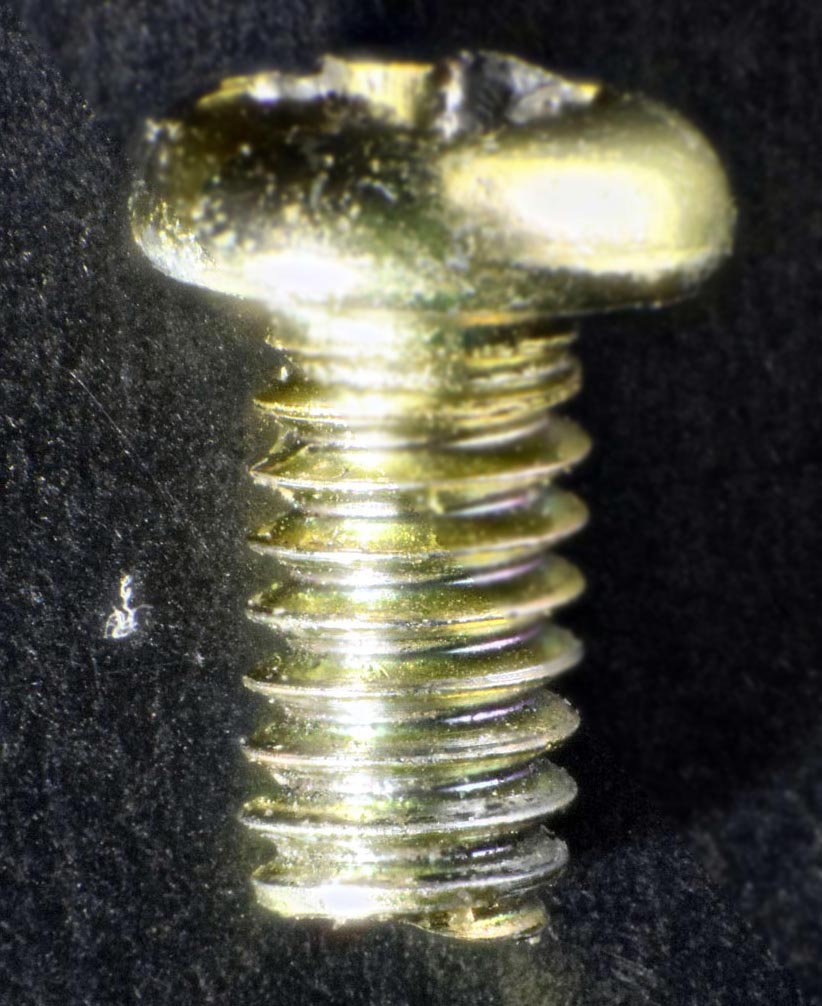
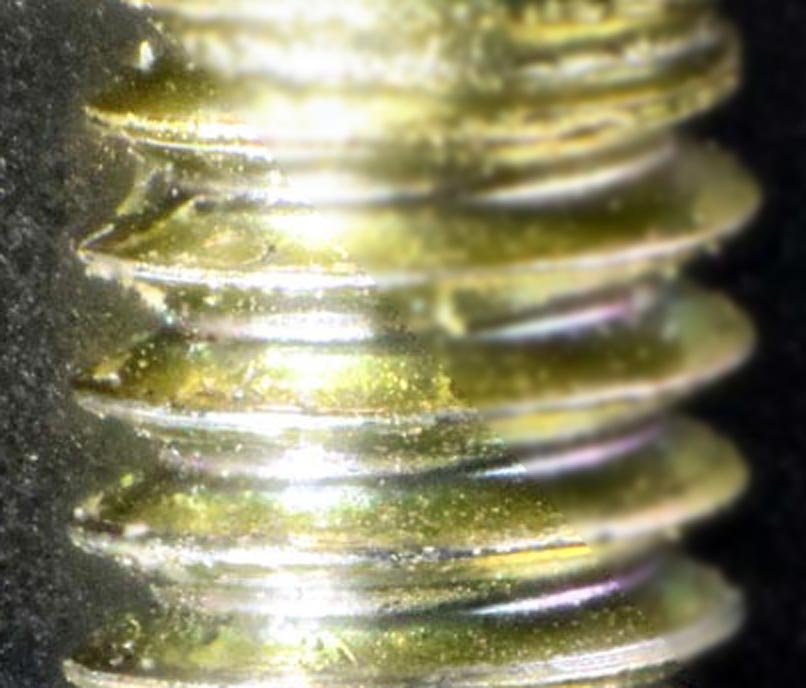
There are a few tools for noise reduction, but they are all similar to the blurring filter. The example shown here is gently used "reduce noise", which can help maintain sharpness while still reducing noise.

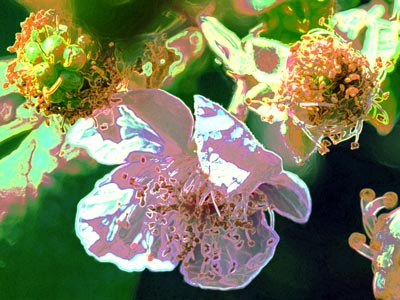
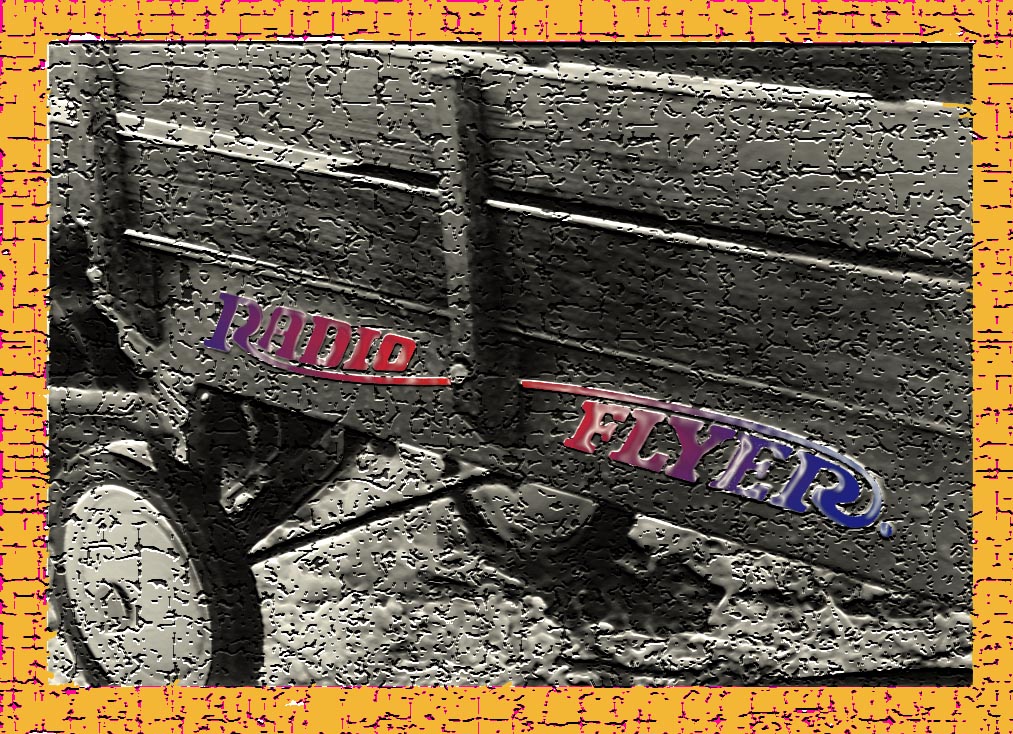
There are so many options, with almost infinite combinations, that I won't attempt to describe the filters that can be applied in Photoshop. I will just show a couple of examples, with the first being the blackberry blossom from above. Here I applied an "edge enhancing" filter and then tweaked the colors with individual channels in "curves". The second is a black and white print scanned and manipulated (as described in the Photography/manipulations section of this site). While extremely wild results can be obtained, sometimes very slight filtering can provide the visual impact desired.
